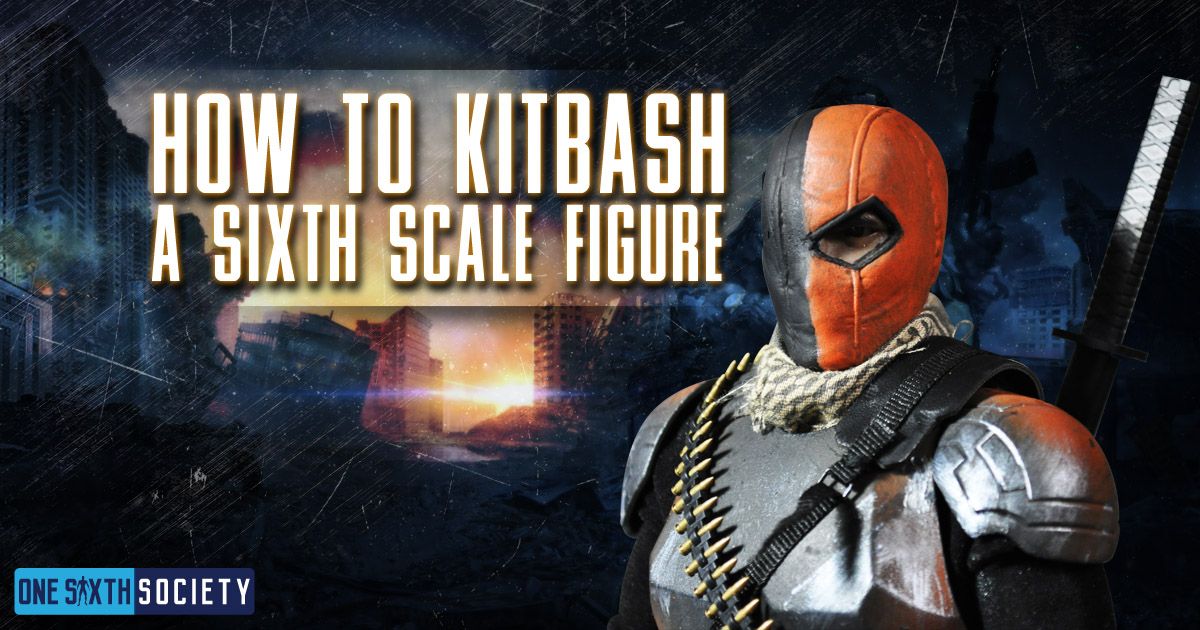
I want to stress that all of the parts I mention in this article were from other mass produced figures. None were recasted, they are all original. As more and more companies start to make 1/6 scale figures, more characters get tackled every day. However, there will always be a character that you want a figure of that just does not get made. When this happens your options are kind of limited. You can wait and hope that it gets made, which is certainly viable these days. Another option is to commission an artist to make a one-off, a piece that will be very special albeit very expensive. You can also do what I tend to do, which is kitbash. With that being said, today we are going to be taking a look at Making your own Figures with Kitbashing.
To get started we have to touch on what kitbashing really is. Now, I have seen people discussing this in several places before so this will just be my interpretation of the terminology. To me, kitbashing is where you use or repurpose parts from several different sources in order to create a figure. Some have noted that the companies that release ‘kits’ for characters are essentially a ‘kitbash in a box’ I think most of the fun comes from figuring out the parts and assembling them yourself!
The key of course is to source the parts that you will need. You can find these parts on Buy-Sell-Trade pages on social media, eBay, or even one of the several websites dedicated to selling 1/6 scale parts! For this article, I wanted to tackle one of my favorite comic book characters who has not had an official 1/6 scale release quite yet: Deathstroke.
Assembling the Figure
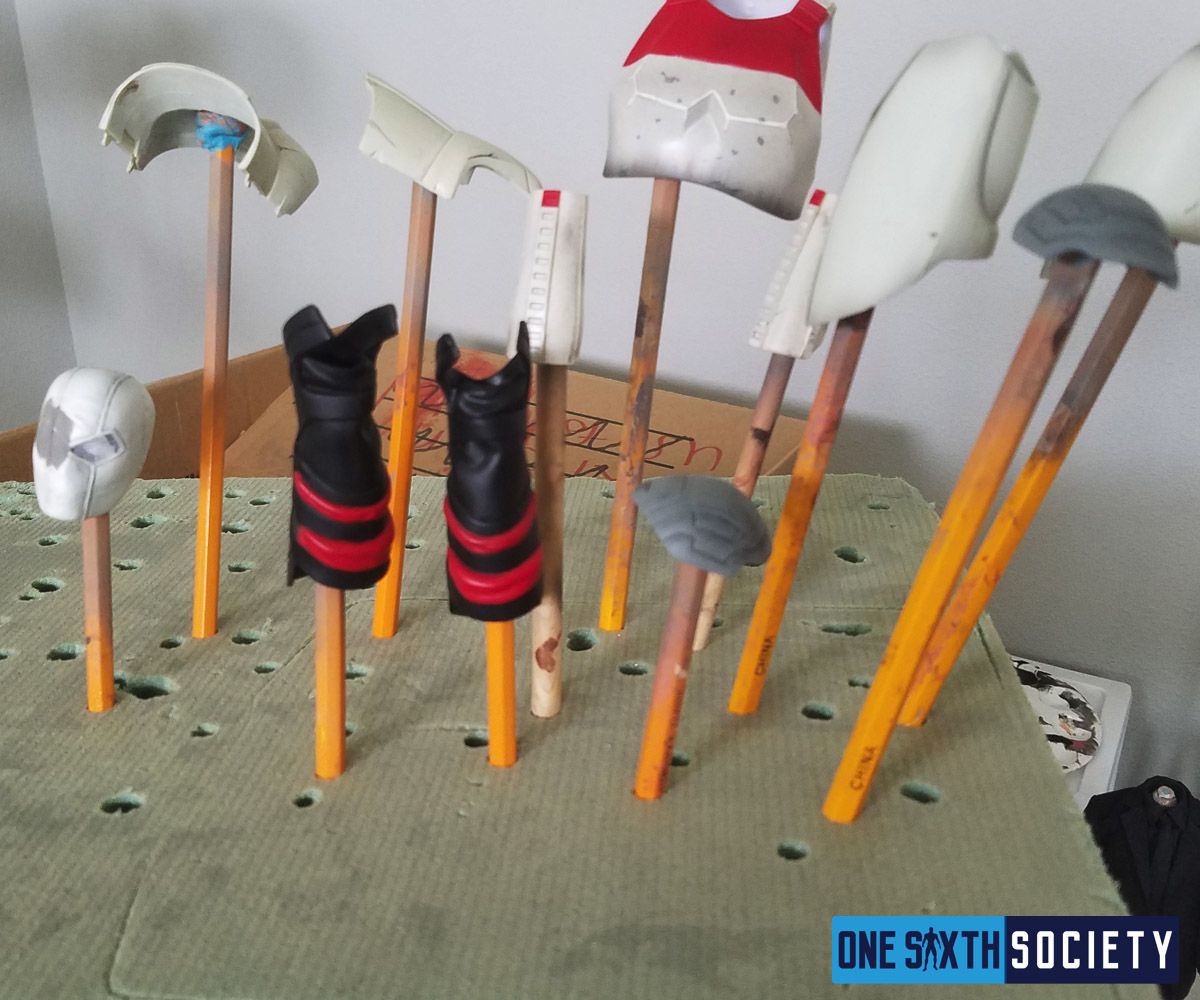
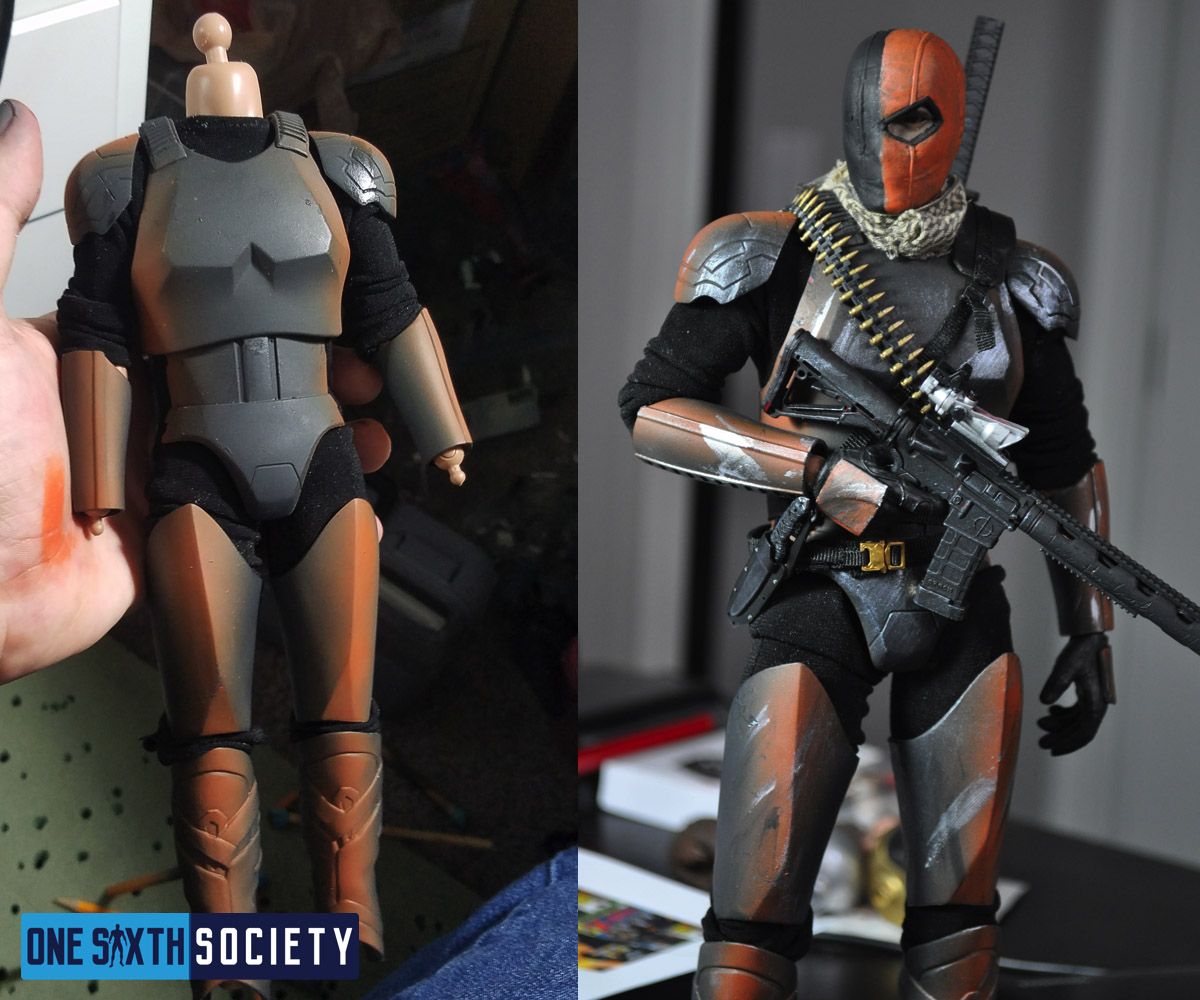
First off, I needed to find plenty of references for what I wanted to create. I decided to go for a bit of a hybrid between His appearance from the New 52, as well as the Arrow Television series. For this I would need chest, arm, and leg armor as well as a headsculpt and various belts. I ended up deciding on a mixture of Hot Toys, Sideshow, and Medicom parts to round out the armor. Star Wars came into place as parted out trooper armor is readily available, as well as Batman shoulder armor and Thor lower leg armor.
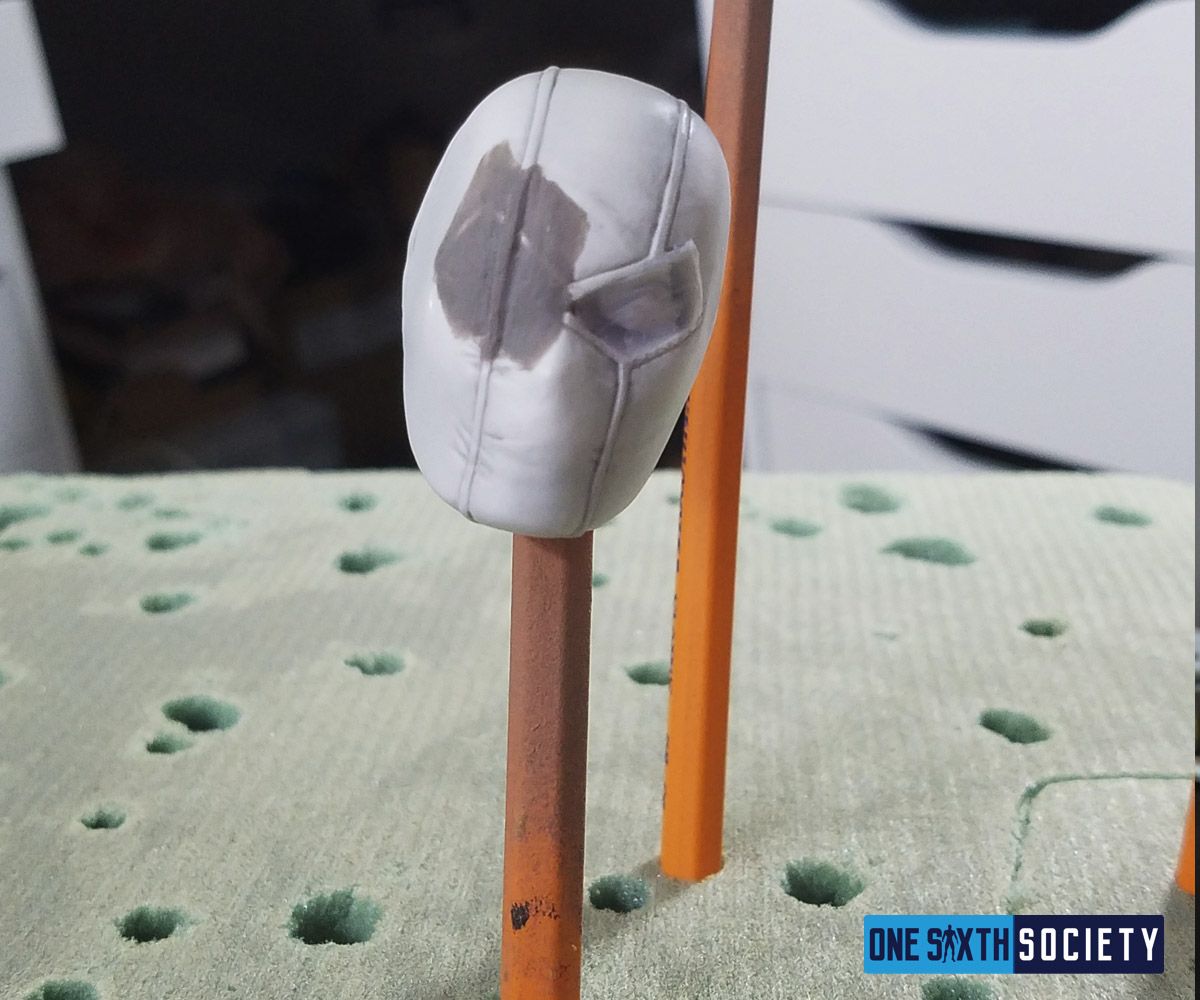
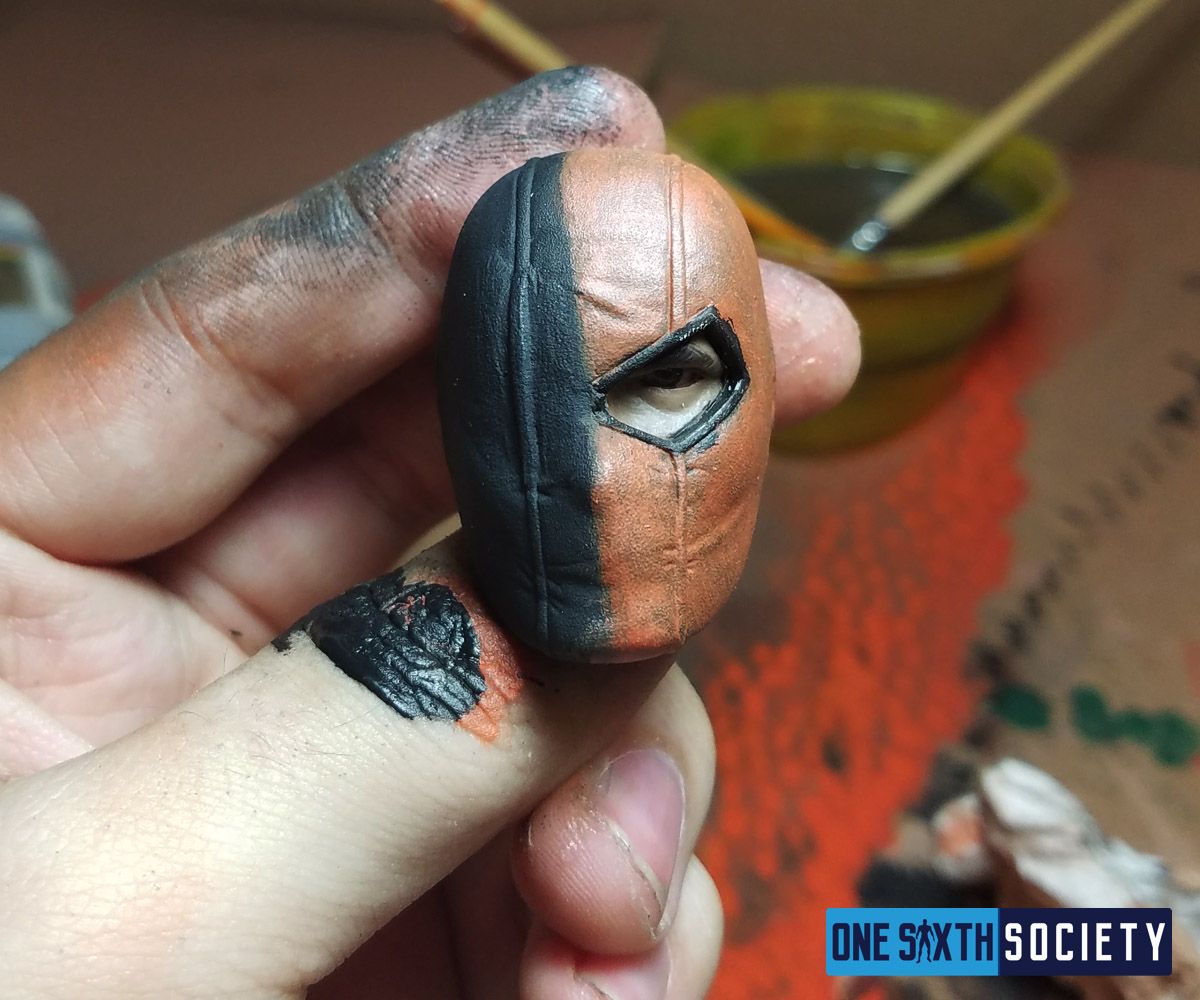
The under suit was a Darth Maul spandex suit fitted over a DAM Toys narrow shoulder body. The most important part of Slade is of course his mask. I could not find a head readily available that would work in its original form, so I decided to try my hand at modifying a Sideshow Stormshadow Headsculpt. Obviously I am not the most talented, but I am pleased with how the headsculpt came out.
Once all of my parts were bought, it was time to assemble them for painting. I first applied a gray primer coat, followed by flat black. Next I airbrushed Orange highlights and hand painted the orange on the mask. Finally I went in and dry brushed silver highlights and painted some ‘Battle Damage’ onto the armor. The next touches were the rifle and gloves, which I also painted by hand. Finally, I took the assortment of belts I had purchased and began to attach them. Personally I hate dealing with small buckles and loops, so I normally glue belts shut. Once it was all assembled, I went in with a small brush to touch up any spots I had missed, and sat back to admire the work.
Investment and Final Thoughts
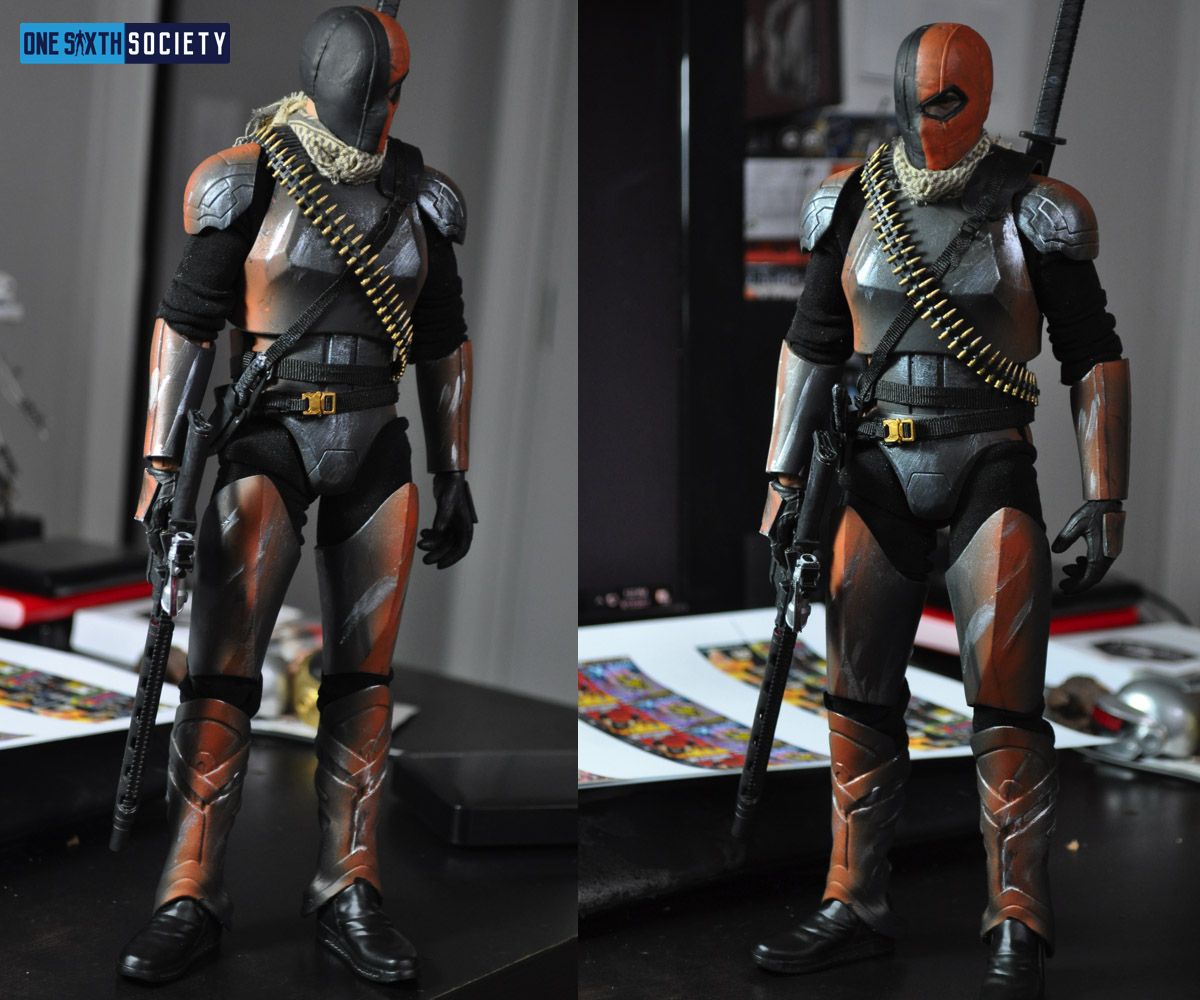
Overall, Deathstroke took about 2 weeks to create, including the time that it took for the parts to arrive. Overall, he cost $123.60 to put together, and I am quite pleased with the final product. While I have been painting for quite a while, I am very much an amateur. I hope that this piece about Making your own Figures with Kitbashing inspires you to give it a try yourself. It is an immensely rewarding experience to build a figure from the ground up.